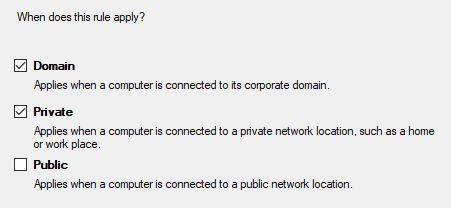
IMPORTANT: When starting the Mangold VideoSyncPro Studio for the first time, make sure you allow our Mangold software to bypass the Firewall for ALL RELEVANT* network types:
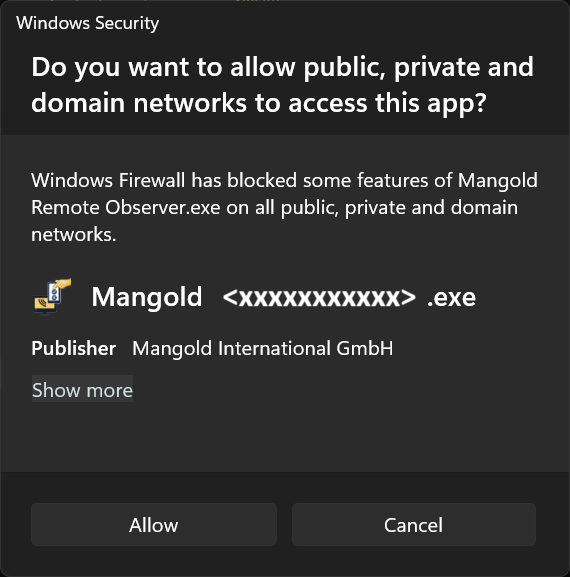
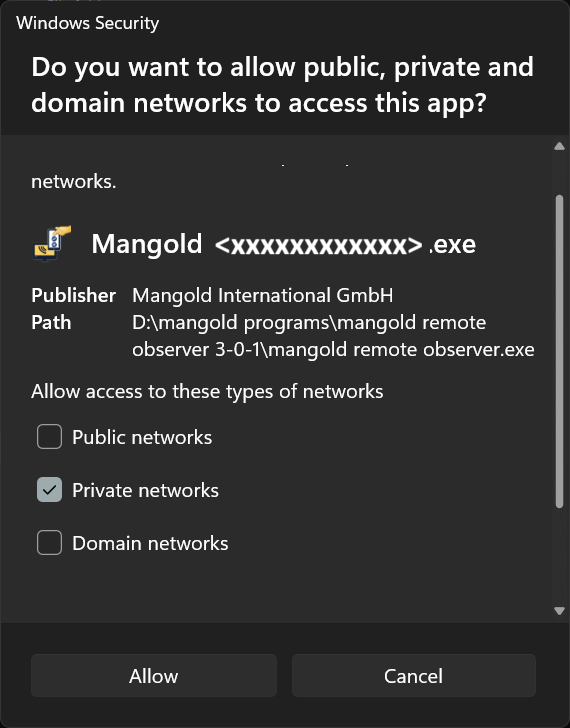
- Click Show more.
- Select Domain, Privat AND maybe even Public, depending on the network type of your network adapter - otherwise, communication fails.
These settings are required for the following Mangold Products:
oMangold VideoSyncPro Studio
oMangold Remote Observer
oMangold Multimedia Player
oMangold Observation Studio
oMangold Participant Station
oMangold INTERACT (when connecting to Mangold DataView over the network)
oMangold DataView (when connecting to Mangold INTERACT over the network)
*) This is related to the Network Type assigned to the Mangold Video LAN Adapter - per default the onboard Ethernet Adapter configured with a fix IP-number in the 192.168.0.x network-range.
When communicating devices connect to different network types, all networks types involved in the communication need permission to bypass the firewall.
Firewall Settings
If a Mangold LabSuite application is found, but further communication* fails, the Firewall is blocking communication.
*) E.g. a recorder is found, but a complete connection fails; e.g., sessions are not listed, or control buttons cannot be loaded, etc. Or if the Media Player is found, a video window can be send, but no image appears.
Verify that on both devices the Firewall can be bypassed for all applicable network types, at least for the following ports:
oTCP & UDP: 49152–65535 (automatically assigned by OS)
Inbound Rules
IMPORTANT: Verify that NO 'Blocked' rules are listed for any Mangold applications.
('Blocking'-rules always overrule 'enabled' rules)
For this you might need to adapt or insert the following Inbound Rules in the advanced security list of the local Windows Defender for each Mangold application:
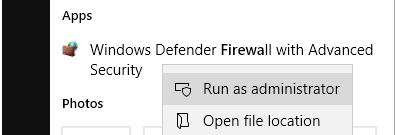
▪Start the Windows Defender Firewall app with administrator rights:
If you end up in the Windows Defender Security Center, it works like this:
▪Click Allow an App through the firewall (or similar).
▪Find your application in the list with existing rules.
▪Make sure all applicable Networktypes are selected:

WARNING: This automatically generated rule is created for both UDP and TCPIP, for all ports for exactly this executable but only for the selected network types (as selected during the first start in the Windows-Firewall-dialog mentioned above)!
For more precise access-control, you do need the Windows Defender Firewall with Advance Security app, running with administrative rights:
▪Select Inbound Rules in the left pane of the Windows Defender window:
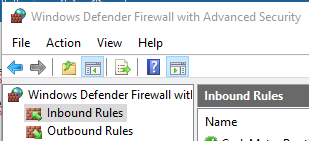
▪Find your application in the list with existing rules.
▪Double-Click the Rule to adapt the available settings.
If no applicable rule can be found:
•Select New Rule... under Actions, at the right side of this dialog.
•Select Port as your 'Rule Type' and click Next > to continue.
•On the 'Protocol and Ports' page, select TCP and specify the Specific local ports 2040-2110.
•Click Next > to continue.
•The required 'Action' is Allow the connection, click Next > to continue.
•Depending on the type of Network you are in, select the ones in which the communication should work:
IMPORTANT: Depending on the network profile type of the accessing remote clients is declared, you may need to activate the Public network as well!
•Click Next > to continue.
•Last but not least, recognizably name the Rule; e.g., like this:
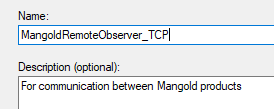
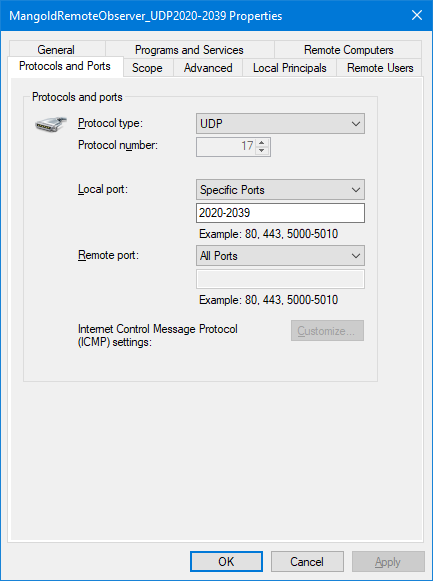
•After saving this TCP rule, create another New rule for the UDP port and specify the ports 2020-2039.
•Name this second rule accordingly so that you can identify both inbound rules.
If you open any of those rules, you can verify and adapt the settings:
 |
 |