If you are interested in reactions to a specific expression, or want to include specific words in the general, descriptive statistics, INTERACT can be of help here as well.
Predefined Words and Phrases
The INTERACT Workflow editor offers a very powerful module that enables you to predefine any number of words and phrases. An example of this routine and its results is available as a Demo Workflow under Start -Files - Open ![]() > Demos> Workflows > Workflow: Create Codes from transcript.
> Demos> Workflows > Workflow: Create Codes from transcript.
Create our own Workflow
To access and adjust this powerful command, you need to create your own Workflow, like this:
▪Open the Workflow Editor using the command Start - Advanced - Workflows ![]() > Workflow Editor
> Workflow Editor
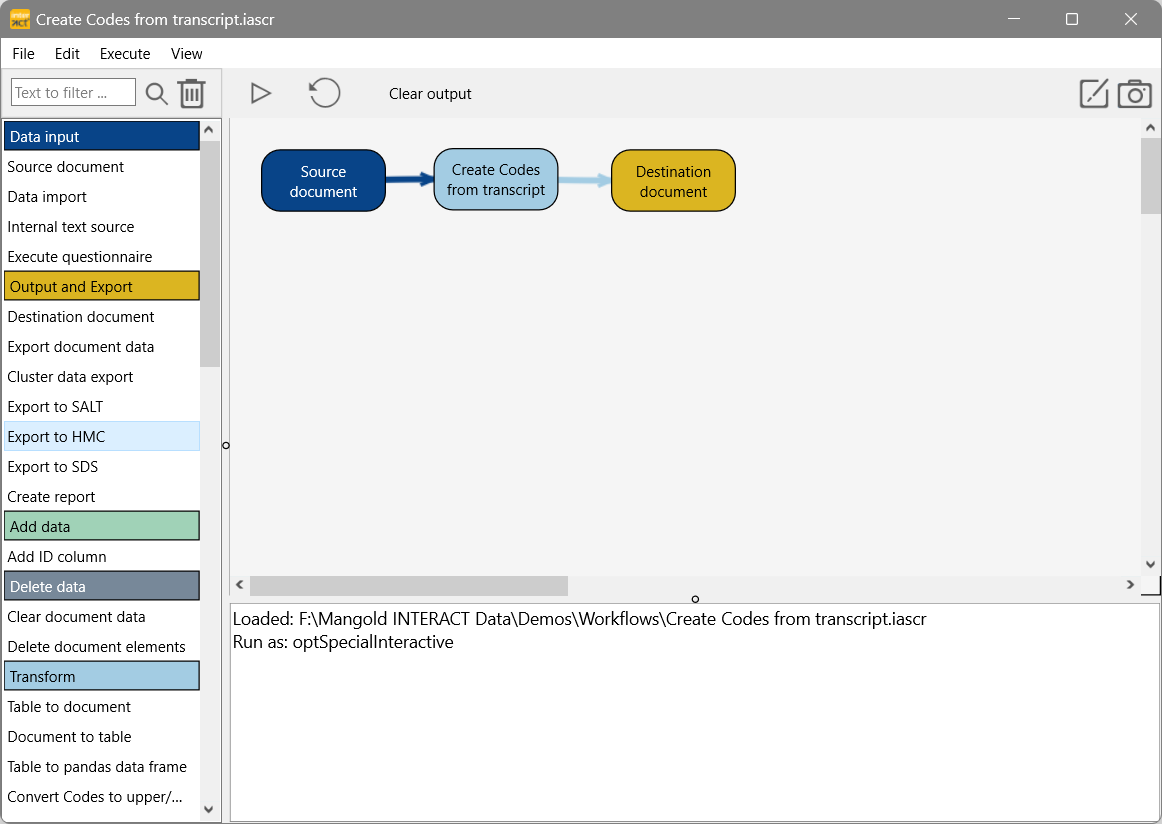
An new window with all available modules and an empty canvas appears.
•Drag the modules 'Source document', 'Create Codes from transcript', and 'Destination document' from the modules list on the left onto the greyish area:
Note: The Workflow Editor is available in INTERACT Professional and up. If the command is missing, please contact our sales team at sales@mangold-international.com
•Link the first two modules by selecting the first module, press the CTRL key and click on the second module in your workflow. For further details, read Create a workflow.
•Link the second and third module again by pressing the CTRL key while clicking.
Now all there is left to do, is configure the module Create Codes from transcript:
•Double-click the module object Create codes from transcript in your workflow.
An empty Create Codes dialog appears.
•Enter the Words and phrases into the large empty field, following the required syntax like this:
<word or phrase> : <ClassName> >> <Code>
Looking at the example in the image we see that whenever the word "How" is found, the corresponding Event line is labeled with a new Code 'Question' in the Class 'Type':
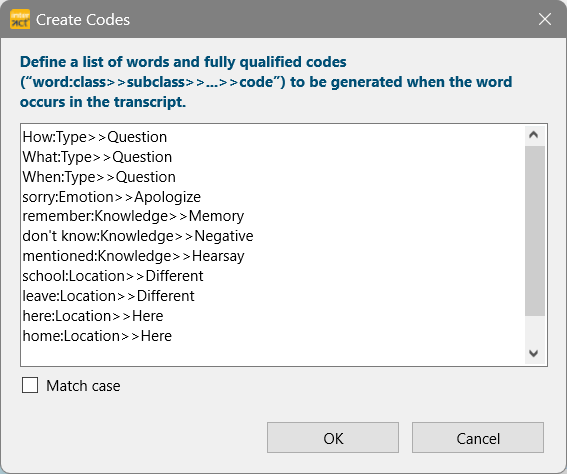
Also in this example the phrase "don't know" labels the Event with a Code 'Negative' in the Class 'Knowledge', and so on.
▪Decide whether the search should match case. If so, select the option Match case.
▪Confirm your configuration with OK.
▪Select File - Save inside the Workflow Editor
▪Name your Workflow using a understandable name in an easy accessible location.
Run workflow
To verify if all works as expected:
▪Make sure you have a suitable INTERACT document opened.
▪Click the little triangle 'Run' button right about the greyish canvas of your Workflow editor, to execute the Workflow.
Per default, the definition dialog will be shown, so you can verify the conditions.
▪Click OK to confirm and continue.
Adjust Runtime Behavior
Should you want to hide any dialogs during the execution, you ned to adjust the Workflow Properties:
▪Right-click into the greyish workflow canvas.
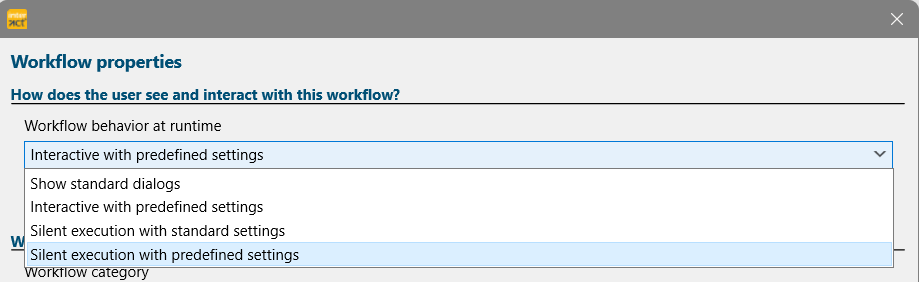
▪Select Edit Workflow Properties.
▪Select Silent execution with predefined settings from the Workflow behavior at runtime drop-down list.
Workflow Description
In the lower area you can enter a description to explain what your Workflow was designed for.
▪Run the Workflow again to verify if all is well.
▪Save your changes before you close the Workflow Editor.
Install a workflow
Once your workflow works as expected, you can install the Workflow for easy access:
▪Drag the *.ascr workflow file you just save from the Windows explorer onto the INTERACT application window.
▪A dialog asking you if you want to install the Workflow yes or no.
▪Click Yes to install the workflow.
A dialog stating where to find your new command appears.
▪Confirm with OK and locate your new command.
Note: INTERACT Basic users running the same version of INTERACT can also install your Workflow!
Single Words Only
If the Workflow Editor is missing from your version, there is still the old method that allows you to turn single words into Codes.
Presuming these 'Key-words' were entered into the transcription field, while performing the transcription, you can turns them into Codes like this:
▪Click Edit – Find & Replace - Replace ![]() to open the Find & Replace dialog.
to open the Find & Replace dialog.
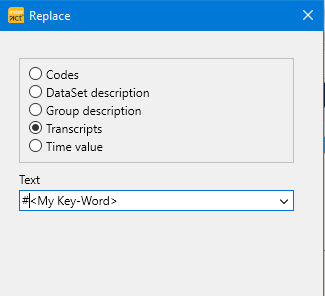
▪Select the option Transcripts in the upper section.
▪Enter your 'key-word' (the one you want to turn into a Code) into the upper Text field.
▪Enter a # followed by your keyword into the Replace with field:

▪Confirm your entries by clicking Replace.
Now all entries of that key-word are labeled with an # and can be turned into a Code.
▪Select the command Edit - Extensions - Functions > Annotations > Convert abbreviations in annotations into Codes.
A new Class column named 'NewCode' is created and all Events that have a word inside the Transcription area that is labeled with an #, now show this <My key-word> expression as a Code in this new column.
To remove the # label from all the labeled 'key-words', run the Replace command again, but do not forget to switch the expressions first:
IMPORTANT: If you have multiple expressions you want to turn into Codes, and these expressions might have been used within the same sentence, make sure you label them in separate runs.
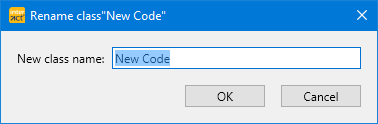
To prevent that these generated Codes are overwritten in additional runs for other key-words, rename the 'NewCode' Class to something more useful, before you run the Convert abbreviations in annotations into Codes command again.
▪Right-Click this 'New Code' column and select Rename Class from the drop-down menu to rename it: