IMPORTANT: This topic is for administrators and lab-managers only.
If you received a pre-configured video lab, continue with Design your Session.
Each network source that is compatible with your Mangold Lab needs to be specified within the Mangold VideoSyncPro Studio software before you can start recording.
If VideoSyncPro cannot find a sources file on startup, the following Solution Finder dialog appears:
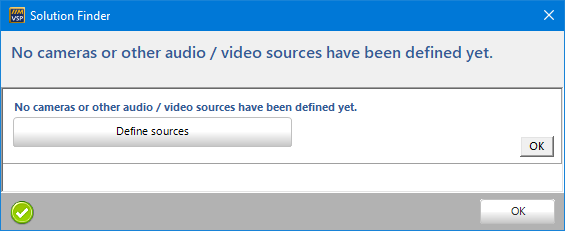
▪Click Define Sources
Or
▪Select the command Edit common sources from the Menu ![]() .
.
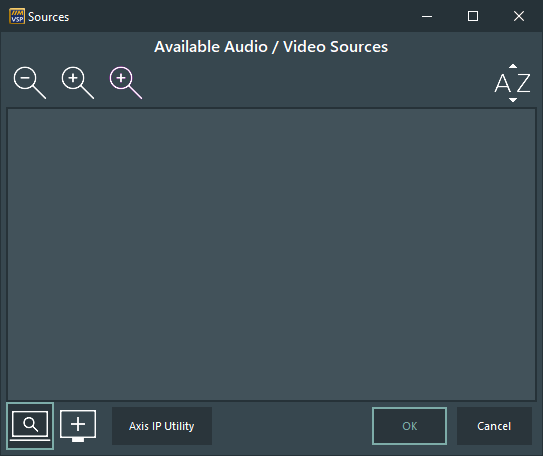
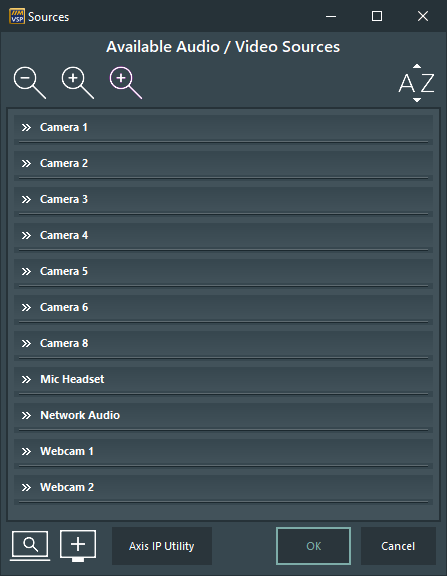
to open the Available Audio / Video Sources dialog:
 |
Note: On preconfigured systems, the required sources are already available. |
▪Start a network search for automated detection or create each source manually.
Only of interest for Axis network devices!
▪Click the search icon ![]() in the Available Audio / Video Sources window.
in the Available Audio / Video Sources window.
The automated search routine creates two sources for each Axis device found:
oOne source is based on the default AMC*-based method.
oA second copy is based on the rtsp streaming method.
After the scan has finished, all Axis devices found are automatically added to the Common Sources list.
The camera model and its IP address is used to create unique source names. We recommend to rename those sources for easier identification.
Note: The source name if used for storing the video file name.
Other sources, like WebCams, headsets, or network streams must be defined manually, as described in the Manually Define Sources section.
*) Axis Media Control software component
▪Read Axis Sources versus Streaming Sources for further information on the differences between the two recording techniques.
IMPORTANT: If your setups contains an Axis Network Audio Encoder (P8221 and D3110), its streaming source can NOT be created automatically!
The automatically generated 'NetworkStream' source for these devices is not visible for other streaming sources.
- Copy the URL from the automatically created streams, create the actual Audion Network source manually, and paste the URL into this source.
- Assign this source to any streaming camera sources, as described in Audio Encoder.
The automatically added sources receive default settings only, and the names reflect the camera model and IP-number.
Depending on your lab-configuration, you might need to make some adjustments to the listed, automatically generated sources.
| TIP: | Be sure to change the entry in the Source name field, as this name will be used as the file name for the recorded video. |
▪Click on a source in your list to get full access to the available source type specific options:
AMC-based |
RTSP-stream-based |

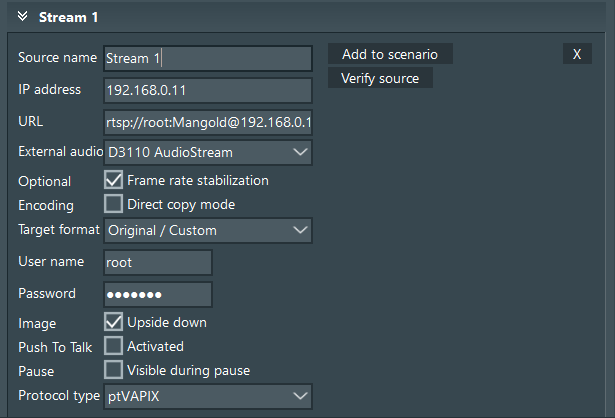
oSource Name - Each source name is used as a file name for the recorded video file from that camera:
▪Enter a preferred unique source name into the Source name field.
oIP Address - Requires the IP number of the camera and is automatically entered during the network search.
oDevice (AMC) - Shows the corresponding Axis camera model
(Click Verify Source to update this information)
oURL (RTSP) - String for accessing the camera using the rtsp protocoll.
oUser name and Password - These entries are required to access the Axis camera or any other custom rtsp stream, in order capture the video stream.
Note: Do NOT change this entry if you are using a preconfigured Mangold Video lab with AXIS Cameras!
Only if you changed the user name and password within the camera back-end or are using other cameras, you need to adjust the default settings to match you local configuration.
oImage - Activate Mirror PTZ control if the camera moves the wrong way.
oExternal Audio (audio input) - Depending on the setup of your audio situation, you might need to select an External audio source from the drop-down list (Default setup).
▪For details on the possible audio features, read the section Audio Encoder.
oOptional - Activate Frame rate stabilization for most streaming sources.
oEncoding - Activate the Direct copy mode only if you want to capture the provided video stream without local encoding.
oTarget format - Offers a list with alternative video formats. Leave the Original / Custom option as is, unless you know exactly what you are doing.
oPush-to-Talk (audio output) - If you have purchased a Push to Talk license - to speak to the participants from within the control room - you must either enable this feature at the Camera source to which the required speakers are connected OR for the IP Network speaker (e.g. C1410) source directly.
▪Read Push to Talk (PTT) for further information.
▪Protocol type - Allows you to select alternative protocols for controlling third-party cameras. Currently, the available protocols are VAPIX, ONFIV, NDI, VISCA, PanasonicCGI, SonyCGI, TesiraTTP.
IMPORTANT: There are several additional audio features available as described in Special Audio Features .
oChannel - applicable, for sources with multiple input channels, like the Audio Hub D3110, the Video Hub F9114, or the Axis video encoder P7214 to integrate analog cameras.
▪Enter the channel number for the required input socket.
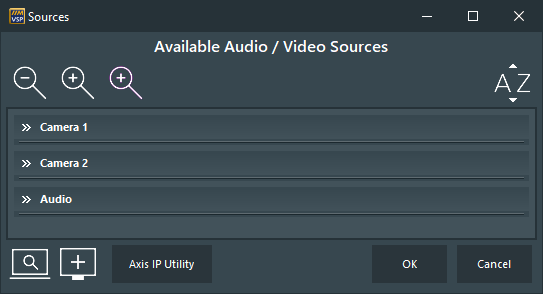
Once all sources are specified and renamed, the list can look like this:
Icon Declaration
|
Expand all - Expand all listed sources |
|
Collapse all - Collapse all listed sources |
|
Sort - sort all listed sources alphabetically |
|
Axis IP-Utility - Opens the Axis IP utility to find any axis device in the network |
|
Network search - Search for all Axis devices and create sources automatically. |
|
Add device - Add a new source to the configuration |
|
PoE port settings - Assign the correct PoE port of a managed switch to each device |
|
Audio Queue - Specify a (scenario) specific Audio queue to synchronize audio streams with video streams |
IMPORTANT: To make use of those sources, you need to create at least one scenario.