Presuming VideoSyncPro Studio has been configured correctly, this is the part of the documentation of interest for the regular user (Standard user) or anyone who wants to make a recording.
Depending on the size and configuration of your Mangold Video Lab, you may have just one or multiple Scenarios specifying a specific recording template, as described in Design Recording Templates.
A Scenario serves as a recording template and contains a predefined combination of cameras and audio sources.
If you just created a new Scenario, you are still in the Recording Preview of VideoSyncPro Studio:

In this case you can start your recording right away:
▪Click ![]() , to start the actual recording of the currently displayed cameras.
, to start the actual recording of the currently displayed cameras.
If you just started a pre-configured VideoSyncPro Studio, you probably see the Home screen listing any previous recordings:
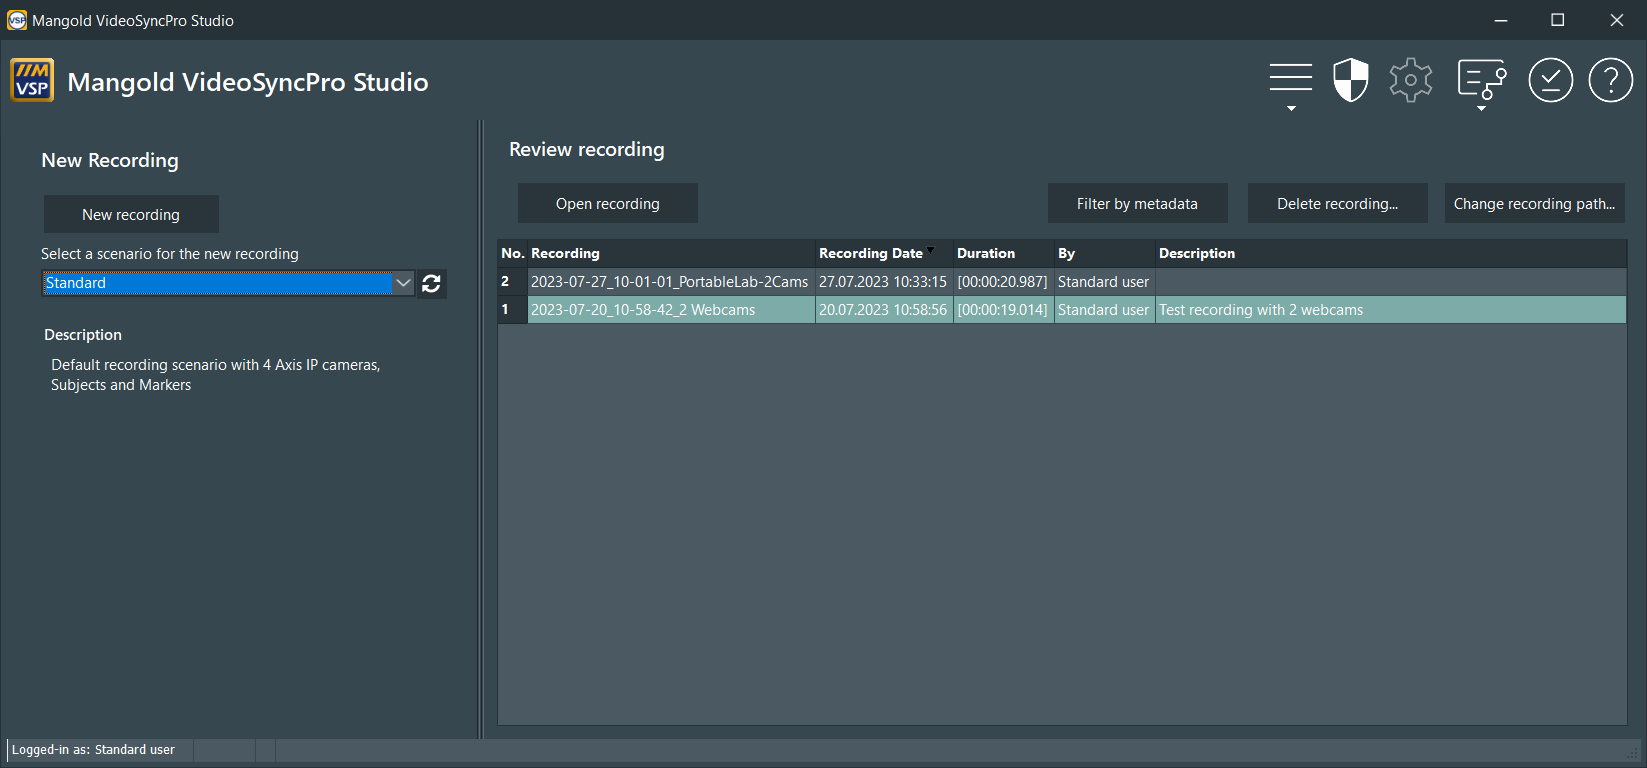
The number of available buttons and sessions depends on the current user rights and previous recordings.
The available Scenario name(s) depend on your configuration.
Create new Recording Session
Before you can start a recording, you need to create a scenario-based session, so you can verify camera positions and focus and enter session specify meta-data to identify the recording afterward:
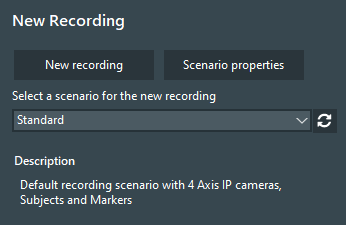
▪Select the Scenario (recording template) of your choice from the drop-down list:
Turn on PoE devices (Optional)
If your setup contains a managed PoE switch with preconfigured ports you see two additional buttons underneath the selected Scenario:

In this case, you first need to ensure all required devices receive power:
▪Click Turn devices on.
If the resulting dialog shows that their state of OFF:

▪Click OK to turn all devices ON.
A count-down Dialog appears to ensure that all devices are able to boot: ▪Continue when the count-down screen disappears. |
|

Prepare a Recording Session
If all devices are powered-up, you can start preparing your recording:
▪Click New recording to prepare a new session.
In most cases, a dialog to name the current session appears:
▪Enter a name that specifies your study/recording instead of the name of the selected scenario.
▪Confirm your session name by clicking OK.
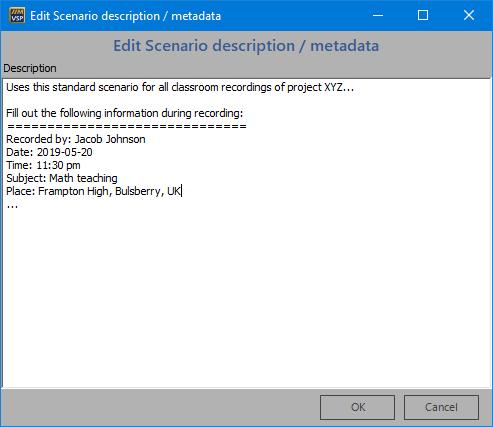
Metadata Collection
If your setup includes the collection of Metadata, a dialog with items requesting the required information appears.
▪In that case, fill out the required fields and confirm your entries with OK.
Further details about possible dialogs can be found Collecting Information within the Administrator manual.
Your Session Name appears in a new tab.
Note: This Session Name is also used to name the folder that stores the recordings of your session.
▪Verify if all sources are available and showing the correct preview*.
A ready-to-shoot scenario might look something like this:
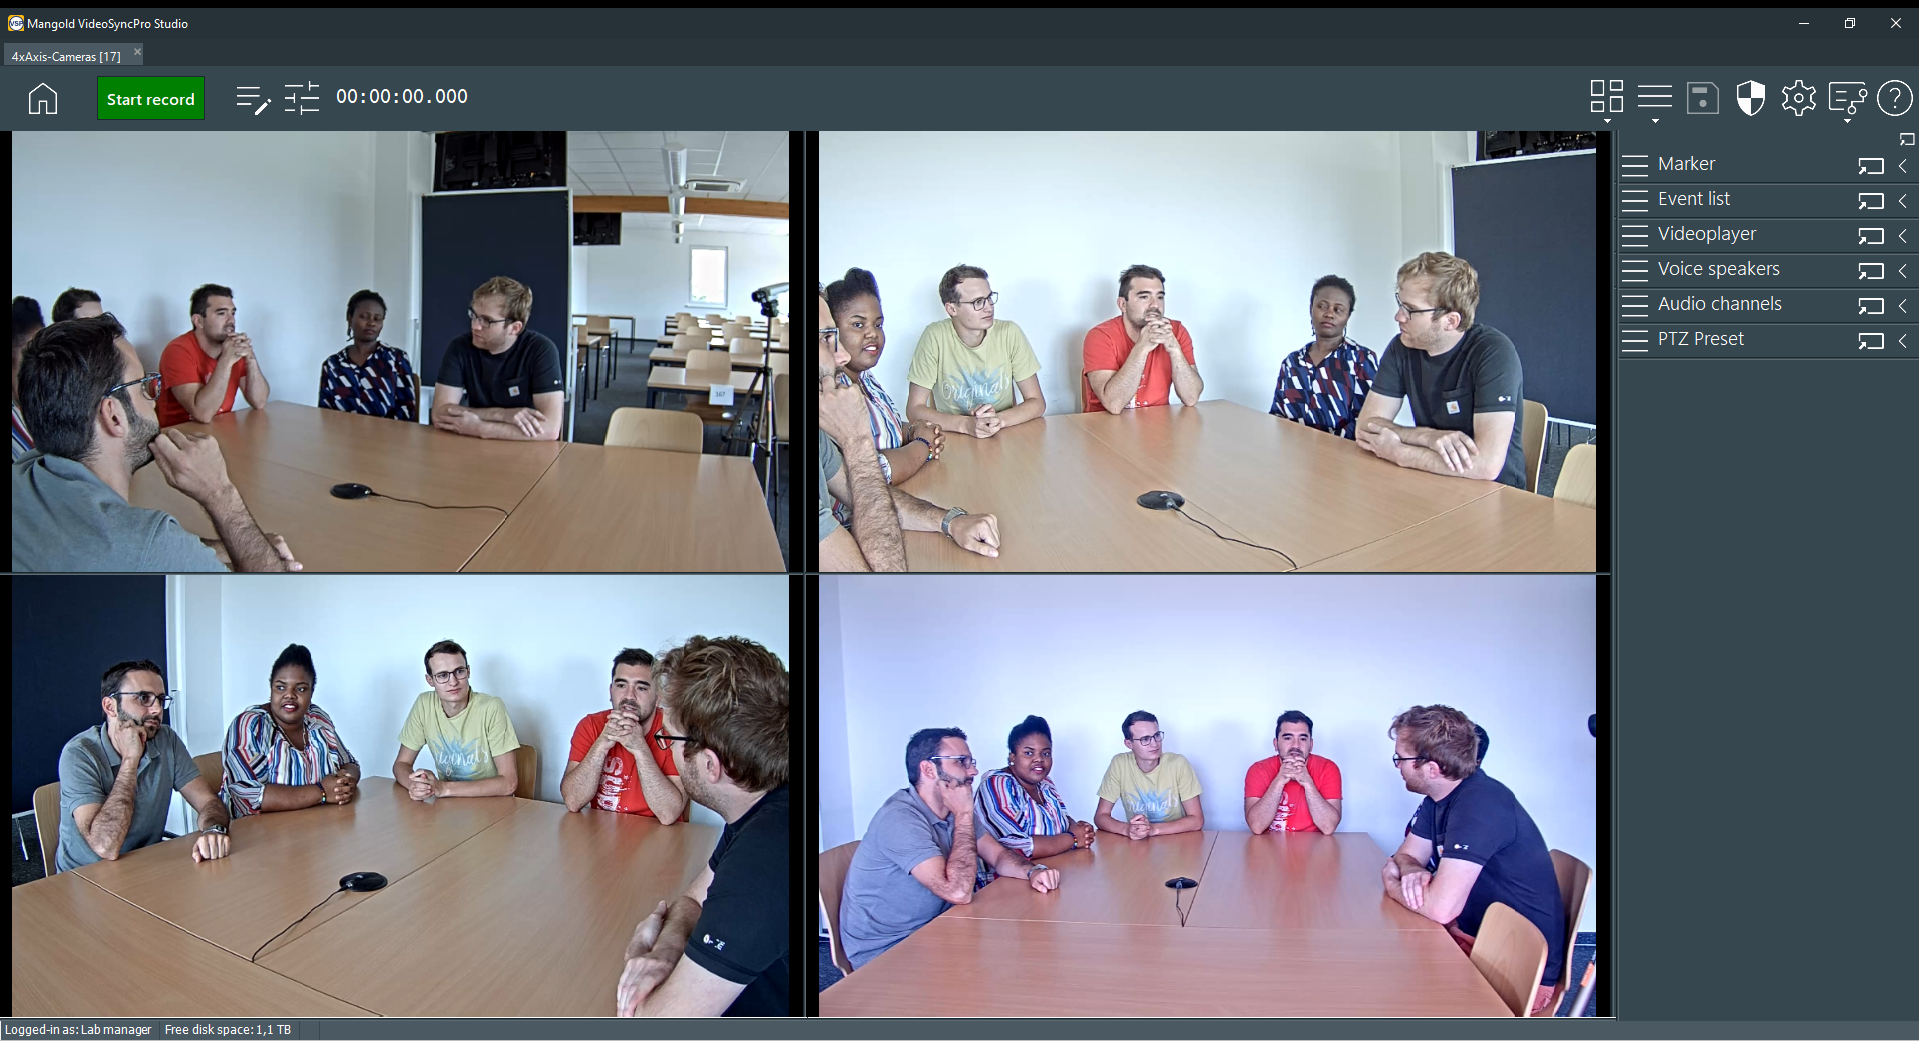
oEach camera shows the correct preview.
oAdditional audio controls may be available in the panel section on the right.
Note: Right-clicking into camera preview panel reveals among other things, the source name. This source name is also used for naming the file of the resulting video file.
oHow to control PTZ cameras from within VideoSyncPro Studio is explained in the topic PTZ-Control.
oIf you own a Push-to-Talk license and enabled the Push-to-Talk option for a source, this device appears in the Speaker panel on the right side of your VideoSyncPro Studio window. Read the Use Push-to-talk for further details.
Audio Indicator
oThis functionality is NOT available for regular, resources-saving Axis sources.
▪Audio level indicator - Streaming sources and Windows Devices do display this audio preview information. If the numbers are red, but changing, audio signal is too low. If the value is red and not changing at all, audio is not received,
File Storage
During the configuration of the system, a specific recording path can be specified in the application setting under Storage.
Note: Per default, all recordings are stored in %USERPROFILE%/Videos.
If your system has and additional data drive, make sure that is used to save the recordings.
Only users with elevated rights are allowed to change the storage path. In that case, the user sees an additional button Change storage path on the home screen of VideoSyncPro Studio. What rights are required for this, is explained in under Switching recording paths in the Storage Settings settings.
IMPORTANT: Record only to a local drive.
Per default, each recording session is stored in a separate folder, named with the current date and time as well as the name of the recorded session. |
 |