For those without a predefined coding system, that want to get started right away, this Zero-Configuration-Approach kind of turns INTERACT into an Excel with video control.
You can get familiar with the basic data collection routine and you can use the collected information to build a coding system for future studies.
Information collected this way is automatically organized in Classes, Codes and transcriptions, depending on the location where you entered your information. INTERACT also automatically logs a time reference for every Event you create.
Start Data Collection
▪Start INTERACT
▪Click Start - File - New ![]() to create a new document.
to create a new document.
A new empty document appears.
| If no Code Definition file was loaded, the new file holds a single column named 'Class XYZ'. You can rename this column and add more columns if you need them. |
| If other column names appear, a Code Definition file containing the Class names you see as your default column headers is loaded in the background. |
▪To open one or more video files, click Start - File - Open ![]()
or drag the file(s) from the Explorer/Finder onto the INTERACT document.
▪Drag & re-size the video window(s) to your preferred location on any screen
▪Click PLAY to start your videos(s).
▪Click PAUSE the moment something noticeable happens.
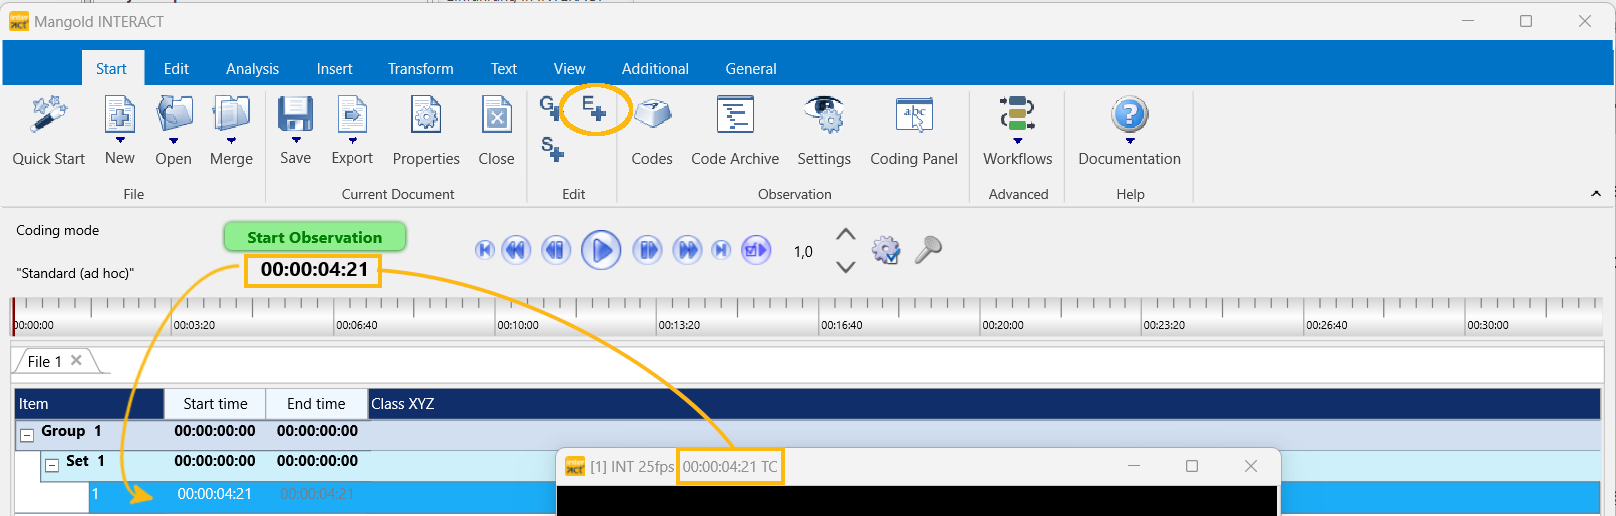
▪Click the Start - Edit - Add Event ![]() icon or press CTRL+E to create an Event line in which you can describe the current situation.
icon or press CTRL+E to create an Event line in which you can describe the current situation.
If the document was completely empty, INTERACT automatically creates a DataGroup and a DataSet line to group the Events of your current session.
The new Event line automatically receives the time information that corresponds with the current position of the video:
You can now enter a description for your observation in the empty cell behind the time information:
▪Click into the cell and start typing.
▪Press RETURN to confirm your entry.
▪If you want to provide different types of information for the time segment, create additional columns.
▪Continue as before and click ![]() whenever something noticeable happens.
whenever something noticeable happens.
Note: All data collected in one or more columns are considered to be Codes and Classes in the INTERACT vocabulary. This enables you to get Statistics on your data and also allows you to apply any of the available Analysis Routines.
▪Right-click in your document header. ▪Select Rename class from the context menu. ▪The rename class "<xxx>" dialog appears. |
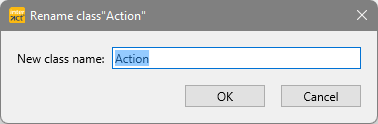 |
▪Change the name to your liking.
▪Click OK to confirm.
▪Click Cancel to abort.
Each column is considered a Class.
To manually insert a new Class column into your data file:
▪Make a right click with the mouse in the top row of your columns
(the one showing your Class names)
▪Choose Add Class from the upcoming shortcut menu to create a new Class column.
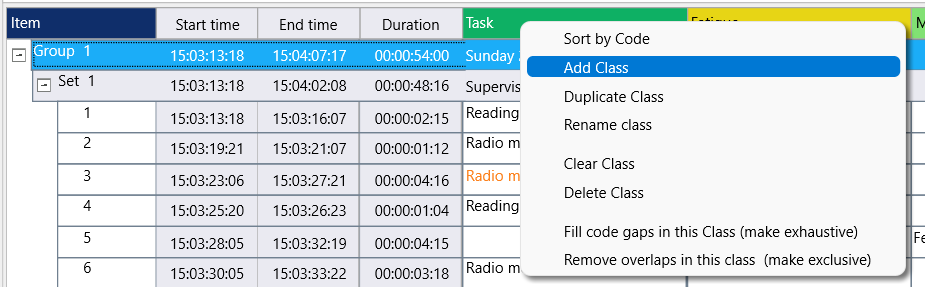
A new Class column named Col# is added.
▪Double-click the column header to rename the new column.
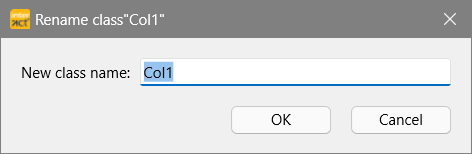
▪Type the name of the new Class into the field of the upcoming dialog and confirm with OK.
Re-use Previous Entries
INTERACT offers an automatically generated drop-down list for each cell. This drop-down list allows you to re-use previously entered comments or expressions.
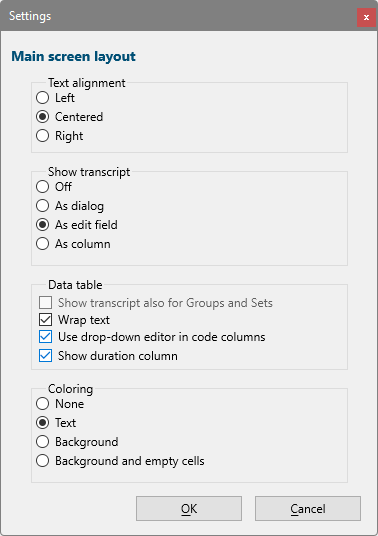
If this feature is not activated, go the the Main Layout Settings to do so:
▪Click View - Document - Main Layout ▪Select Use drop-down editor in code columns. ▪Select the Wrap text option to allow line breaks in all cells. |
|
Review Annotations
The automatically logged time references for each Event line make it easy to return to previous situations for verification:
▪Double-Click on the time value of a line to position the video at that point in time.
TIP: Infert a reference to link your video(s) to your data.
Adjust Time Information
A new Event created this way receives a time stamp of the current video position. This means that the start time = Offset and the Event has NO duration.
Add Duration
To add duration to your Event, add an Offset time to your Event line.
▪Position your video(s) at the end of the observed behavior and adjust the timing by dragging and dropping the current time to the Offset field of your current Event line.
Correct Time Information
If you need to correct some of your time codes, dragging the current time value, displayed in the Timer, onto the time value to be changed, does the trick:
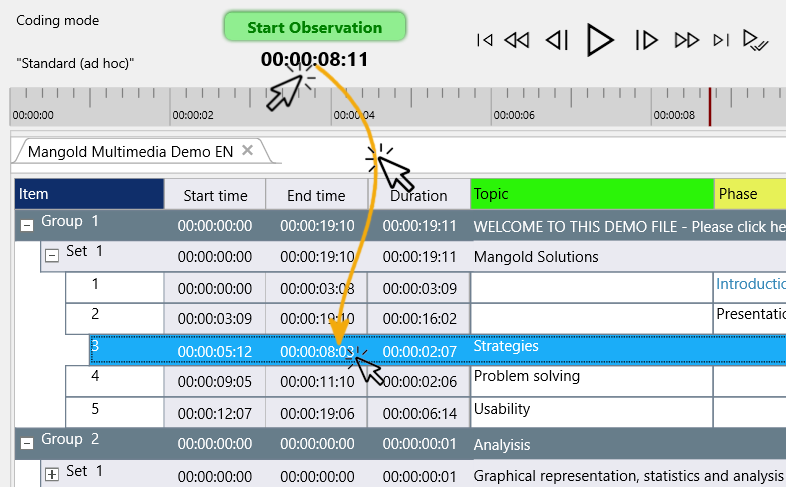
To use this functionality, do as follows:
▪Position the multimedia file(s) to the exact position of your choice.
▪Click on the time value, shown in the Timer display within the Observation Ribbon.
▪Hold down your mouse key and move your mouse to the required position in your document.
▪Release your mouse, to overwrite the previous time information.
| TIP: | It is also possible, to adjust an start time or offset time value in the currently selected line by using key board shortcuts: CTRL+1 enters the current Timer value as the new start time time CTRL+2 enter the current Timer value as the new Offset time. |
We recommend to always insert a reference to the video(s) you observed. Because we did not use the Observation mode, the automatic referencing routine was not applied.
To manually insert a reference to the observed video(s):
▪Select a Set-line in your document that shall contain data based on the opened file(s).
▪Click Insert - Multimedia link - To DataSet ![]()
Or...
▪Make a right click inside the corresponding DataSet.
▪Choose Insert file reference > Link current videos to current DataSet from the context menu.
For further details on the different file references and the advantage of Project folders, read Link Multimedia files for Observation.
Conclusion
This approach does NOT use any of the available routines to simplify your coding life, but it is a great way to get started without any preparation, especially if you do not have a predefined coding system.
Take a look at the section Explorative data collection to learn about alternatives and possibilities of what to do with the collected data.
Also take a look at the information about Observation Methods and Coding Modes.
If you have collected enough information to create a Coding System, either re-use the expressions you entered by Extract Codes from Code Archive or enter you coding system as explained in Define Observation Codes.